Adding Let's Encrypt
First, you need to log into the Nimbus Hosting platform.
Once logged in, navigate to the server dashboard. 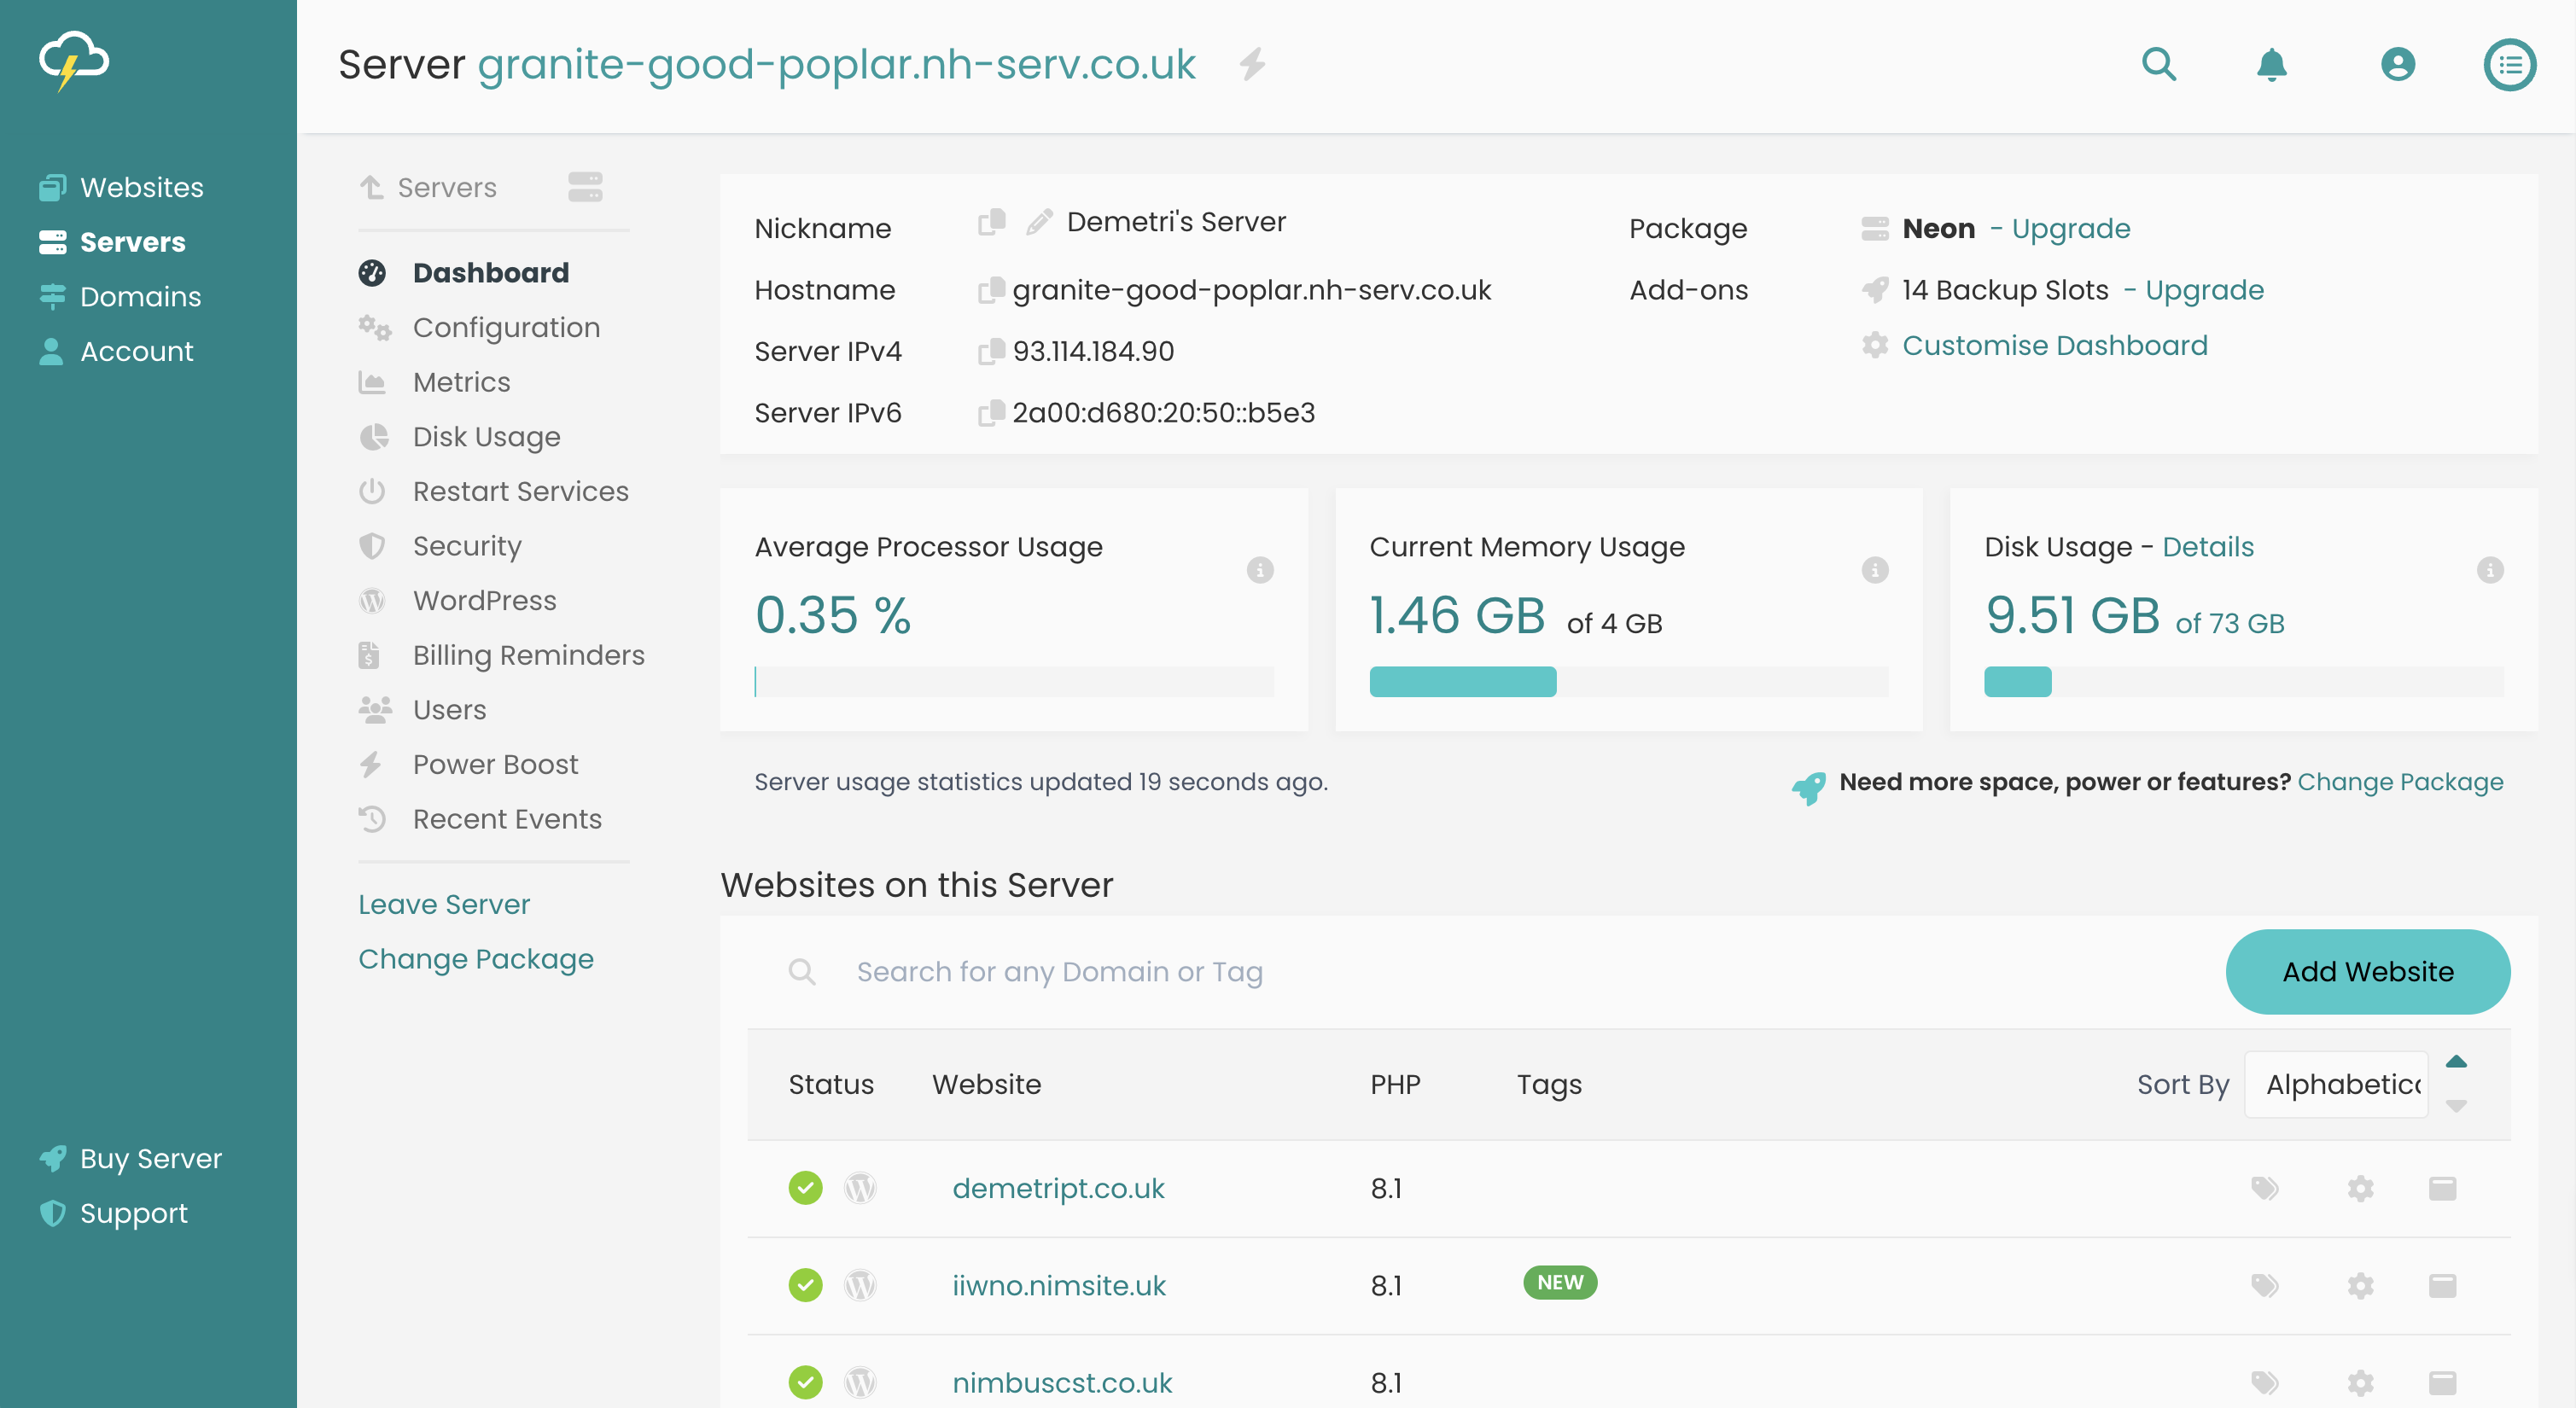
You will need to have set up your website on the Nimbus Hosting platform before you can install an SSL certificate on your site. Please see our Setting up a website guide with details on how to do this.
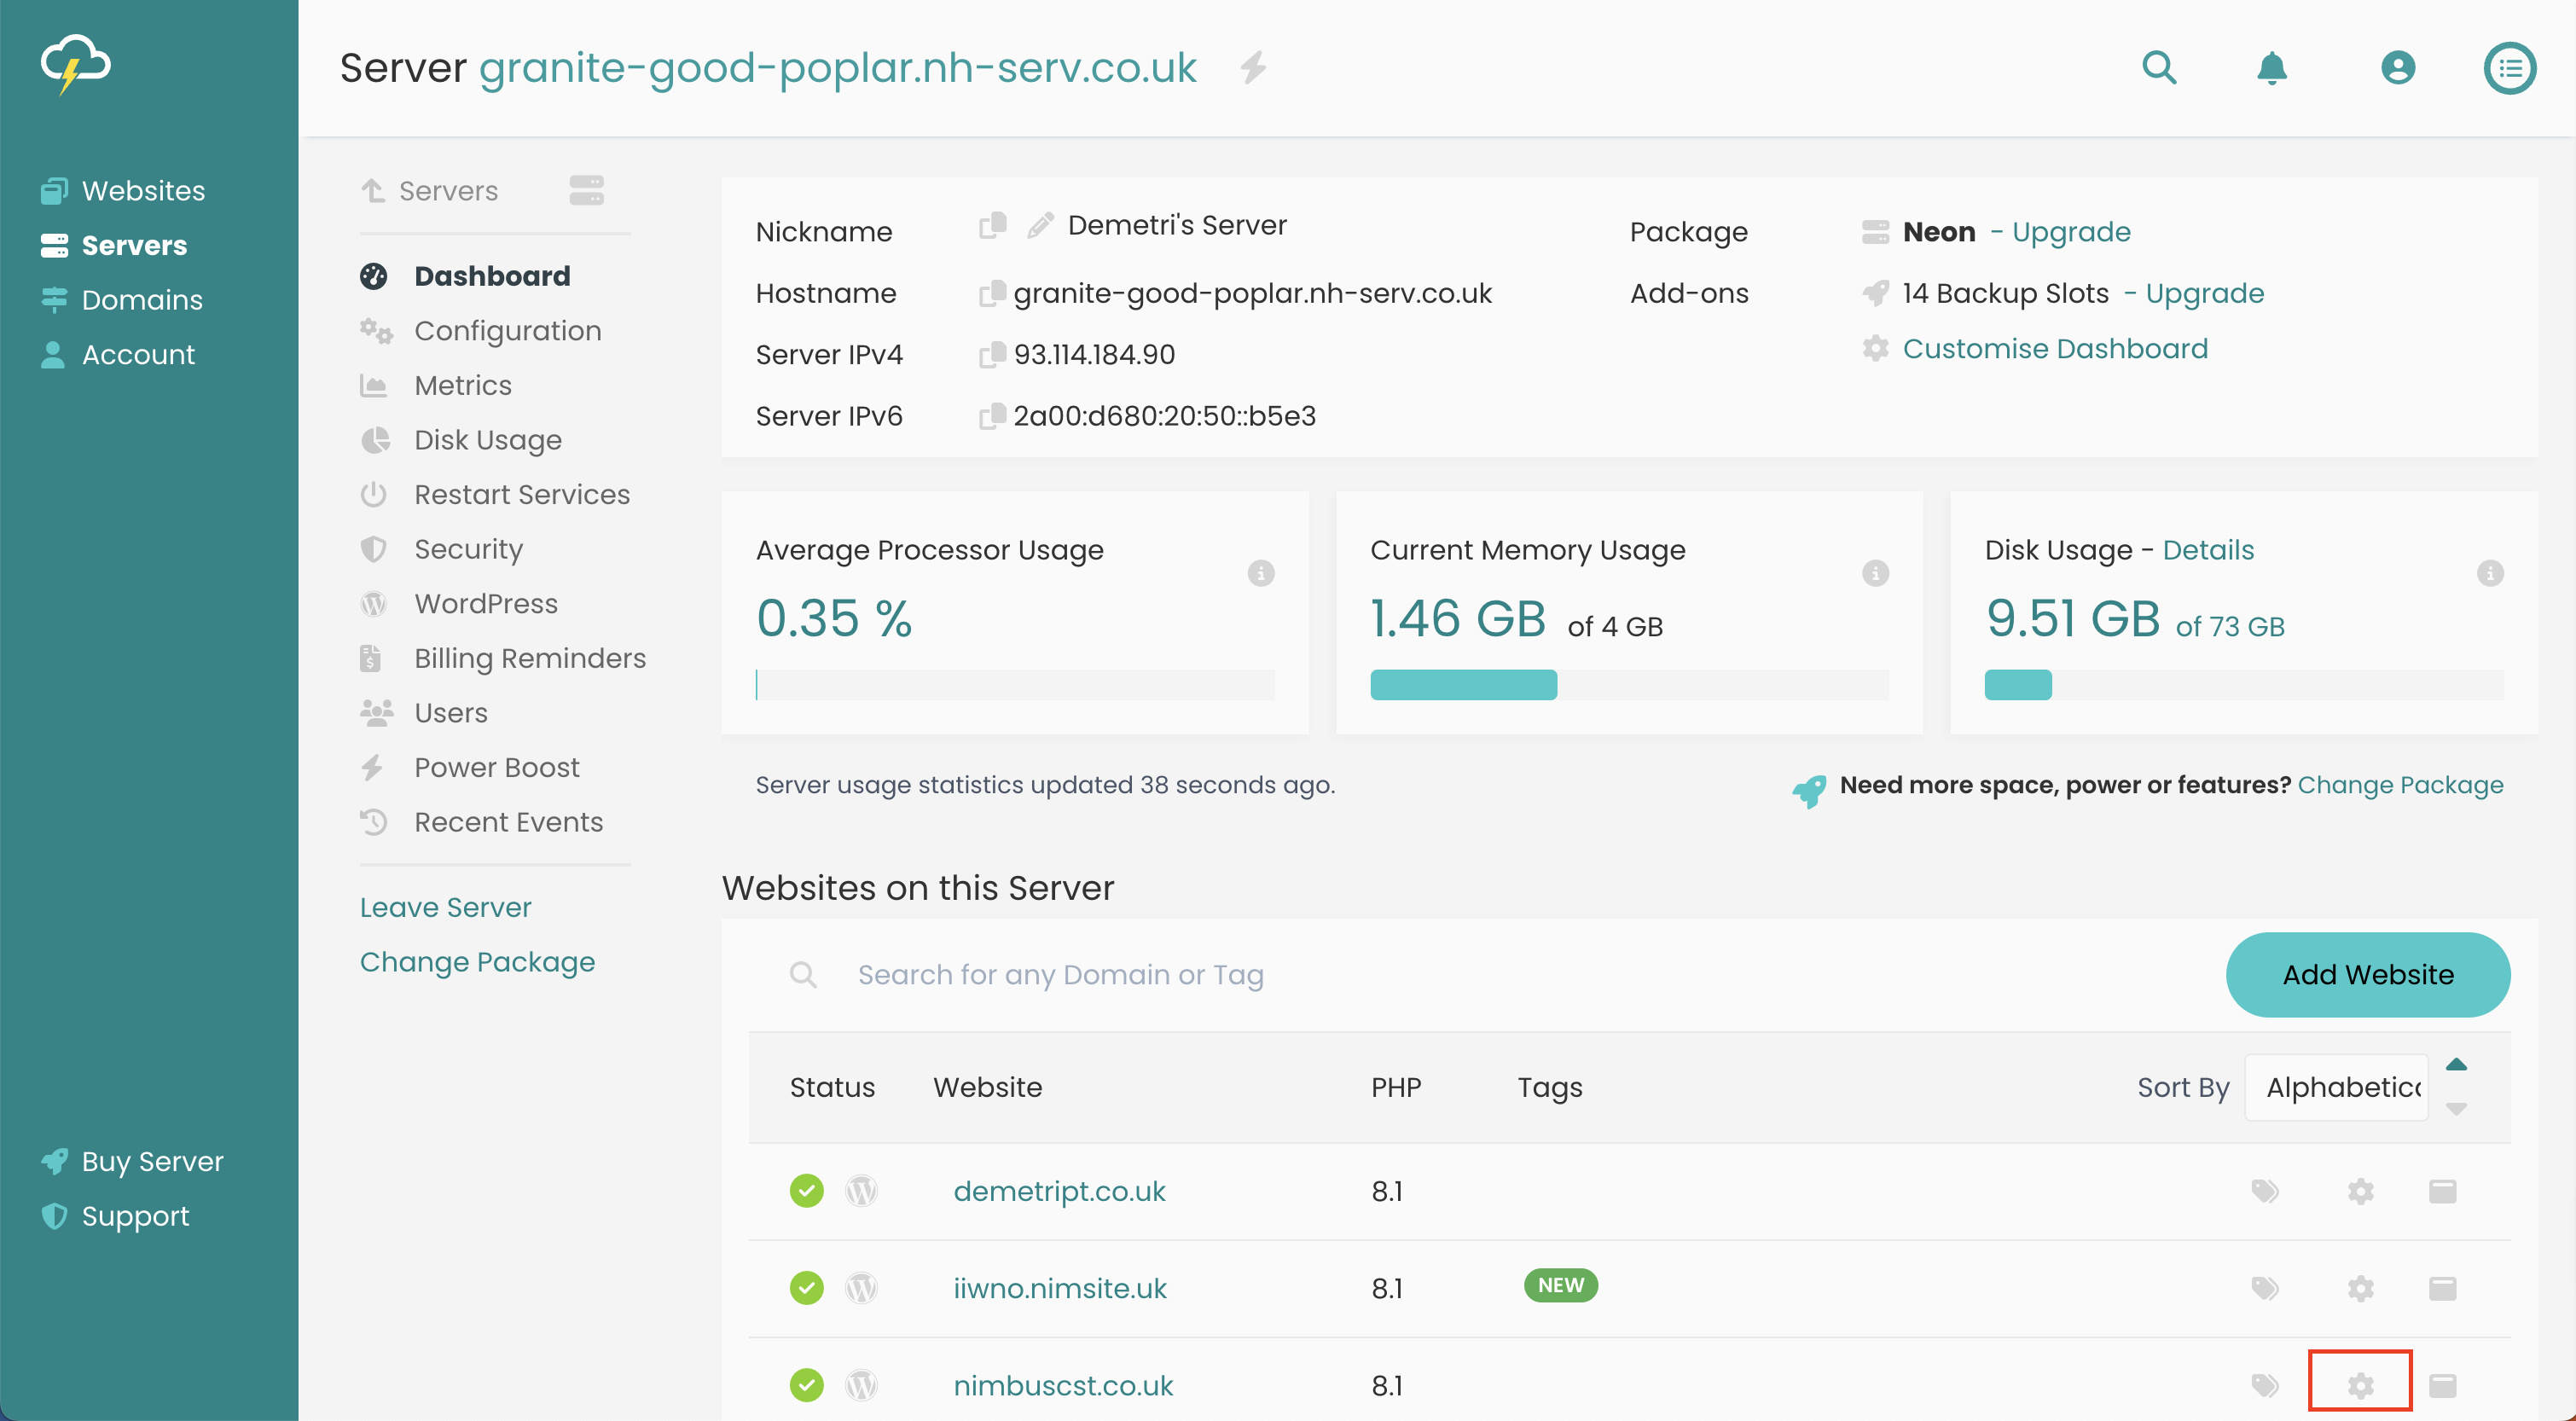
Click the cog icon next to your website to manage the settings for this specific site.
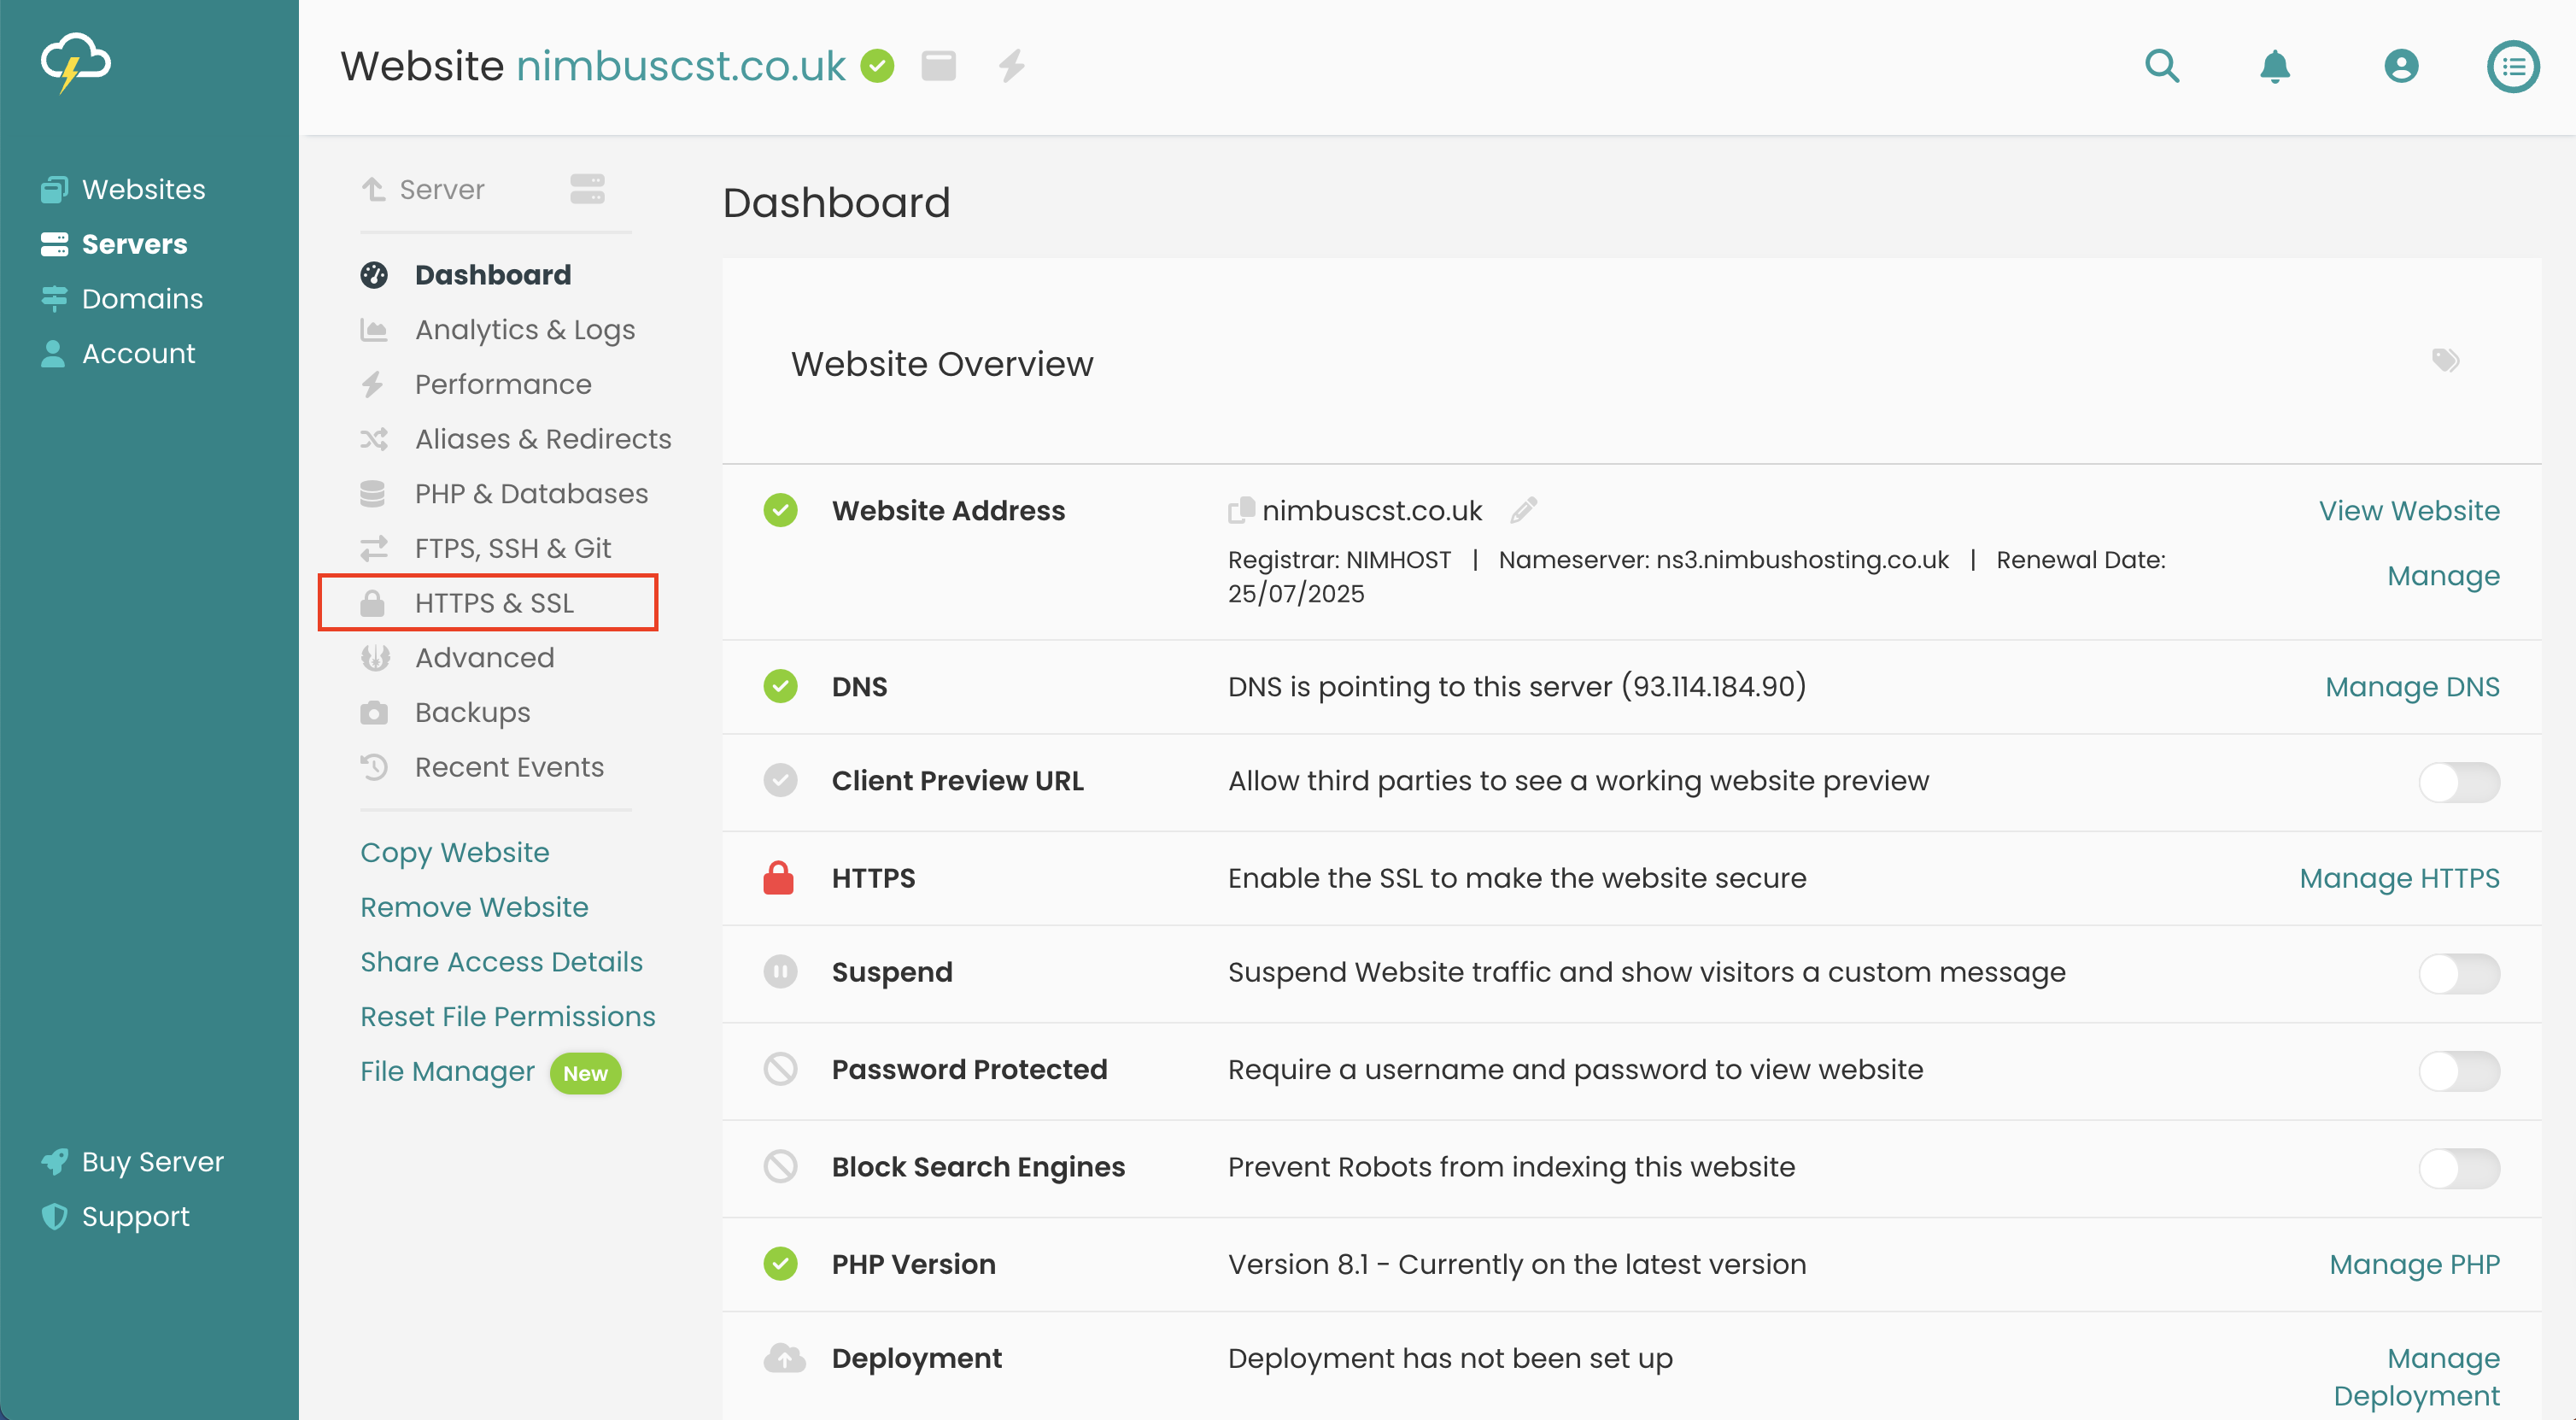
Click on HTTPS & SSL.
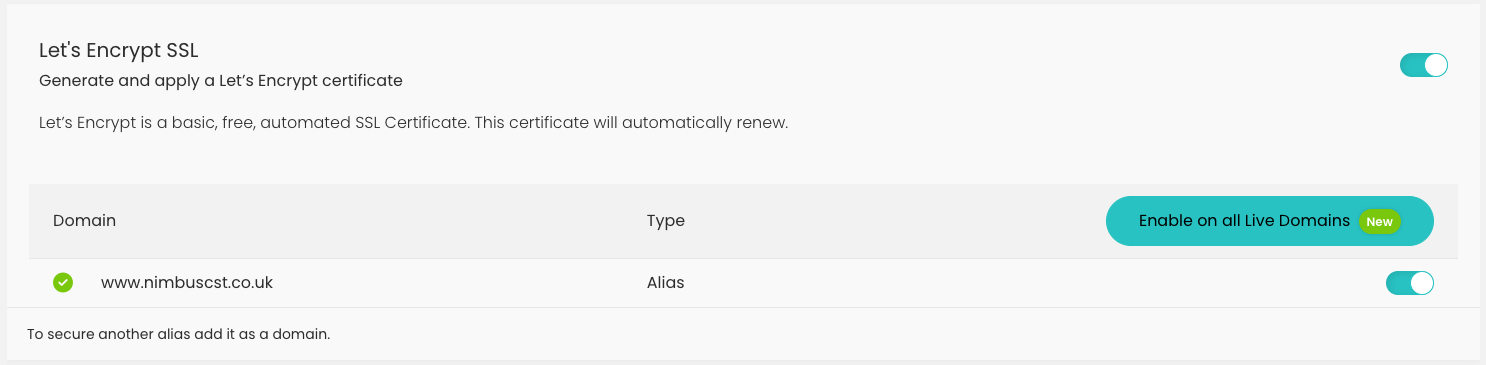
To Enable Let's Encrypt Click the toggle to turn it on. Please note that the site needs to be live on the Nimbus server before a Let's Encrypt can be applied.

Now be patient, Let's Encrypt can take a minute or two to generate and apply the certificate.
Additional Settings:
If you have multiple domains/alias you will be able to add an Let's Encrypt SSL for them as well, similar to doing it on the main domain but they will be listed at the bottom. Please note, the main domain must have a Let's Encrypt installed on it before you can install a Let's Encrypt on the other sites. If you're using a different SSL on the main site you can not install a Let's Encrypt on the alias'.
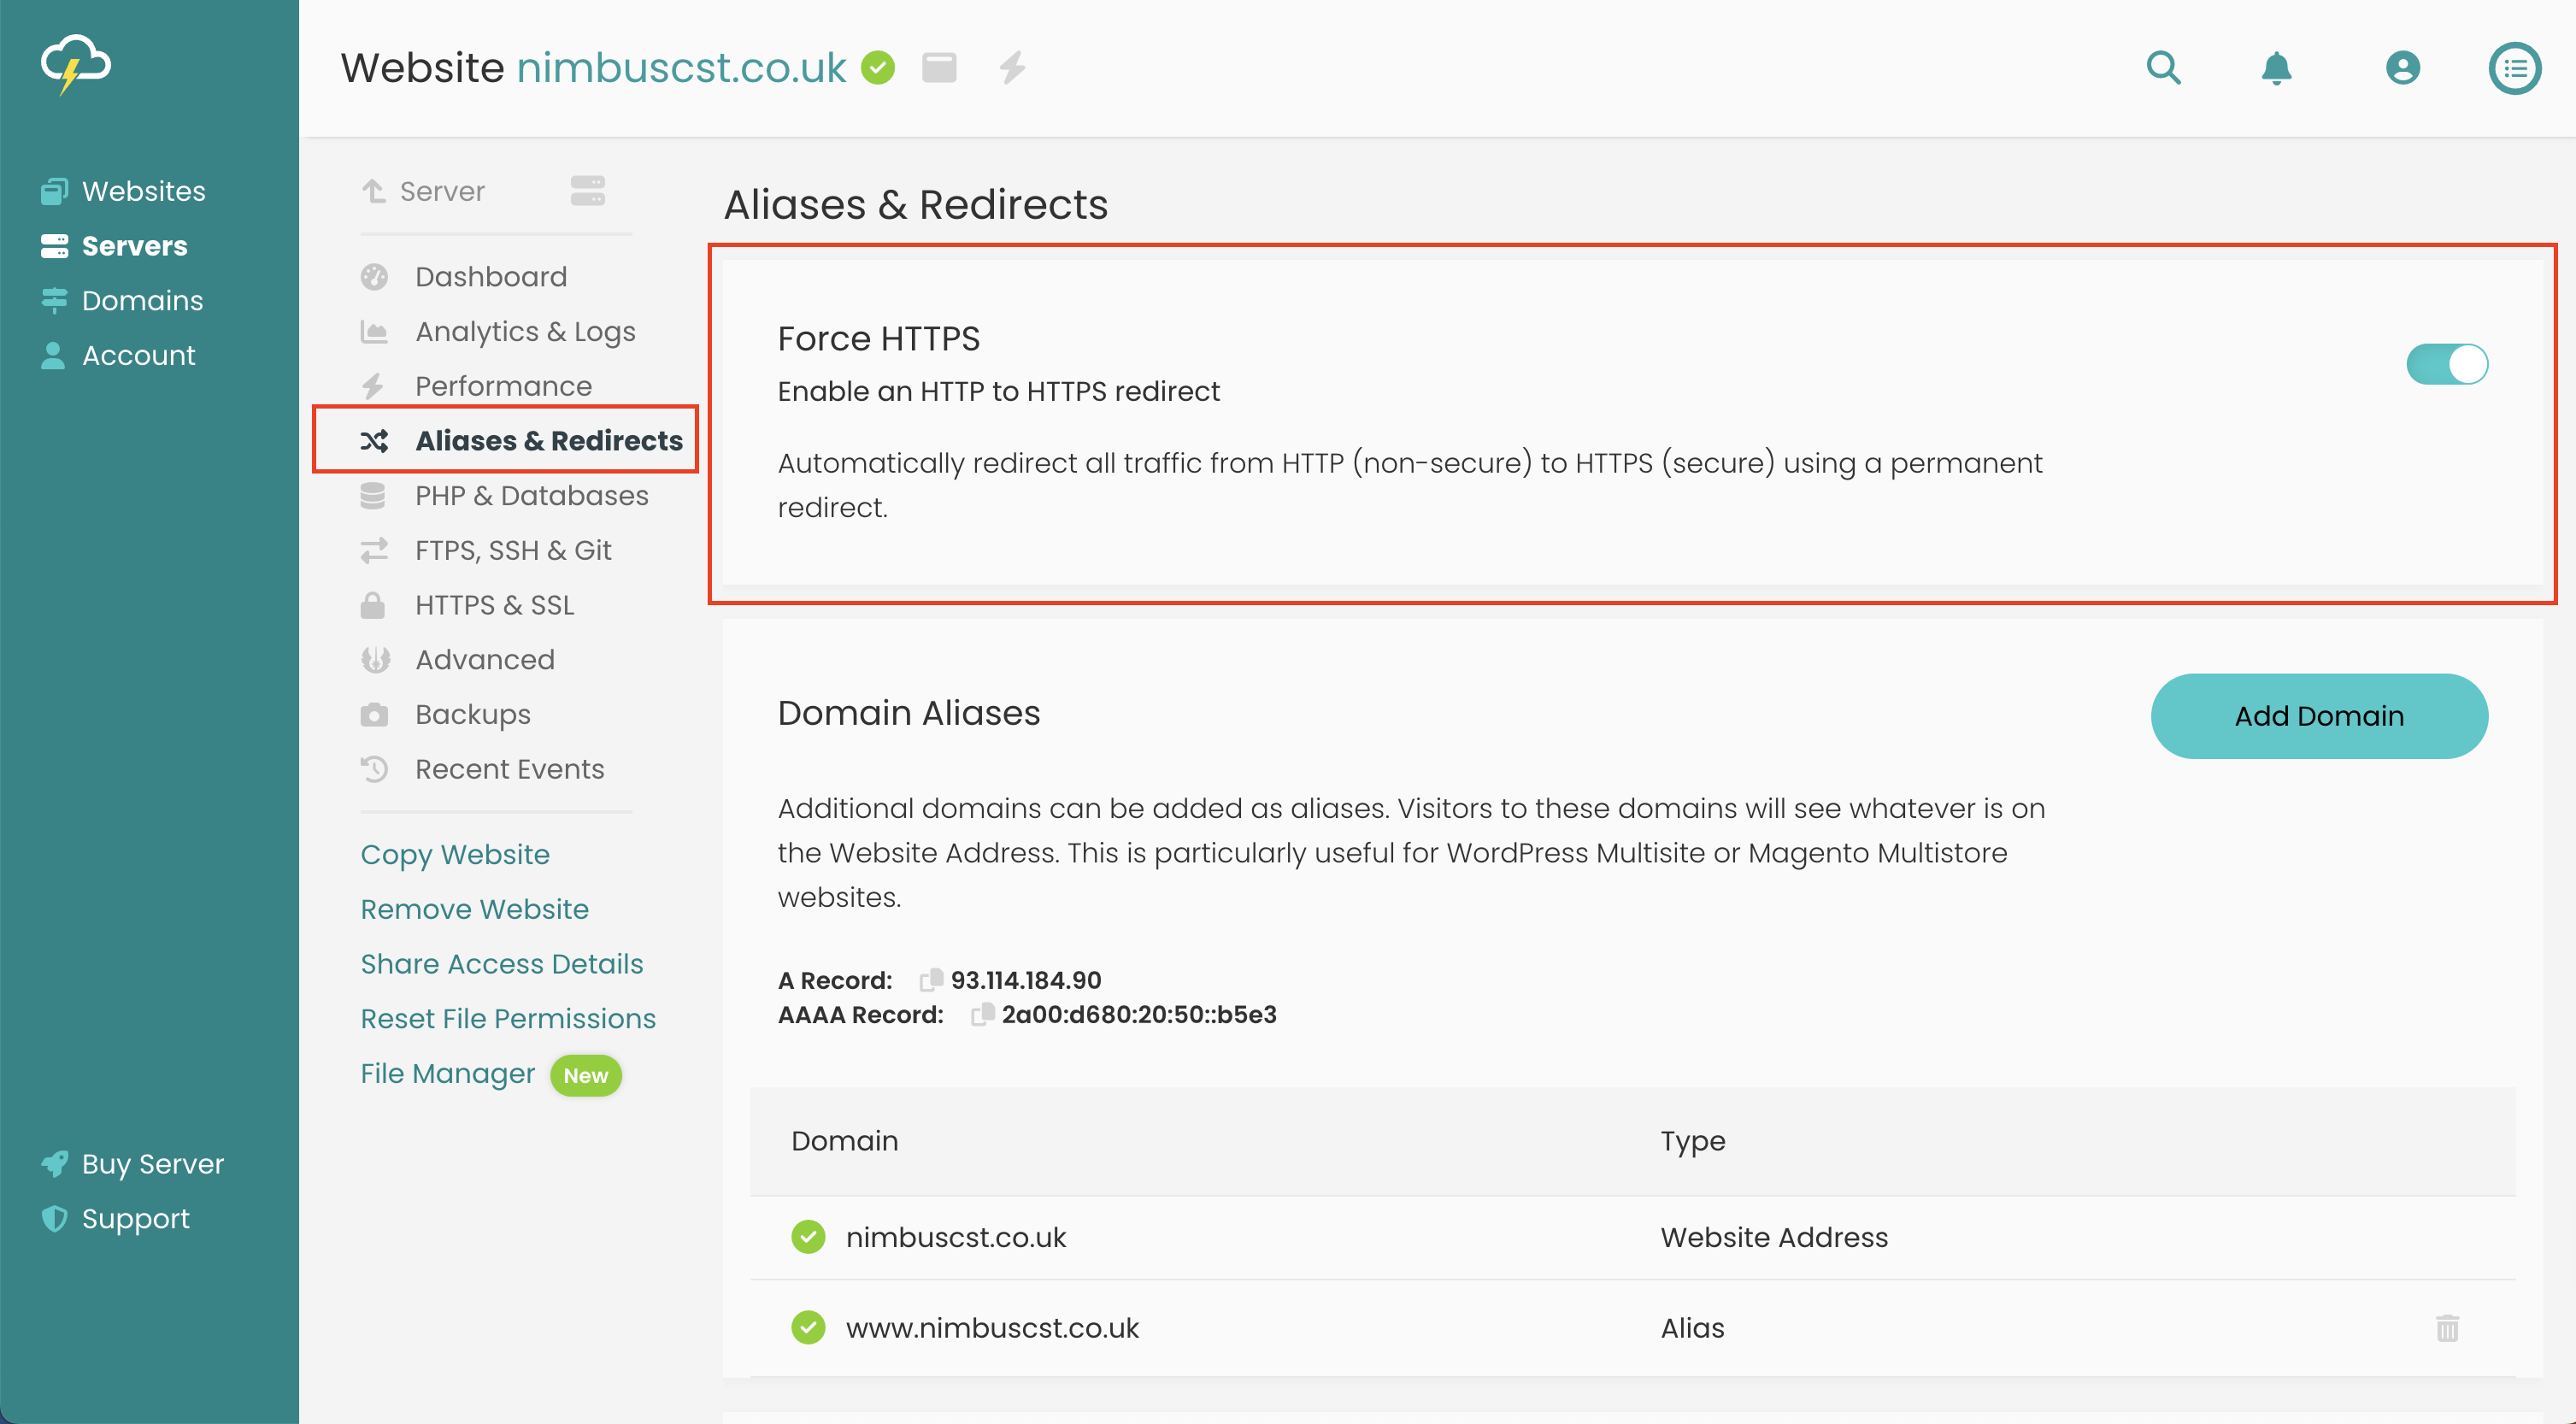
You can also do the HTTP to HTTPS redirect via the platform by going to Aliases & redirects and enabling HTTPS redirect
* If you are adding Let's Encrypt from an Instant URL, The Instant URL will also show on the certificate
How To: Use An Instant URL