Enabling Auto Allow IP
The Nimbus Hosting platform now has the ability to automatically add your IP to the Allowed IP's list when you log in.
Until now, in order to access things like SSH, phpMyAdmin and MySQL you will have first needed to allow each IP address you require access from by following the steps in the below guide:
Adding your IP to the servers Allowed IP List
If you have 2 factor login enabled on your account you can enable the Auto Allow IP feature. Once this feature is enabled, every time you log into the Nimbus Hosting platform the IP that you are currently using will automatically be allowed for 1 day. Here are the steps on how to enable this:
First you need to log into the platform. Once logged in, you will be taken to the dashboard.
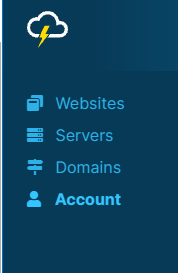
From the menu on the left hand side, click on 'Account'

If you haven't enabled it already, Click the toggle button in the Two Factor Authentication section to enable Two Factor Authentication on your account - https://support.nimbushosting.co.uk/support/solutions/articles/36000020520-enabling-two-factor-authentication
Once Two Factor Authentication has been enabled you will see that the toggle switch in the Auto Allow IP box is now available.
Click the toggle button in the Auto Allow IP section to enable the Auto Allow feature.

Then select the servers you would like to enable this for.
Updated 7 months ago
