How To: Change Nameservers
When you register a domain, it is by default set up to use the domain registrar's nameservers, which are crucial for directing internet traffic to your site by supplying the DNS records. These nameservers function like an internet phone book, holding a list of DNS records for your domain.
Our DNS management system is automatically applied for domains registered with us, offering a streamlined setup process right out of the box. However, you have the flexibility to change these nameservers if you prefer to manage your domain's DNS elsewhere, such as with our Nimbus DNS management for domains registered with other providers.
To switch your domain's DNS management to Nimbus or another service, it's important first to establish a DNS Zone on the new nameservers you intend to use. This DNS Zone is a blueprint for your domain's DNS settings, ensuring your domain's services operate smoothly.
1. To get started, navigate to https://app.nimbushosting.co.uk/login
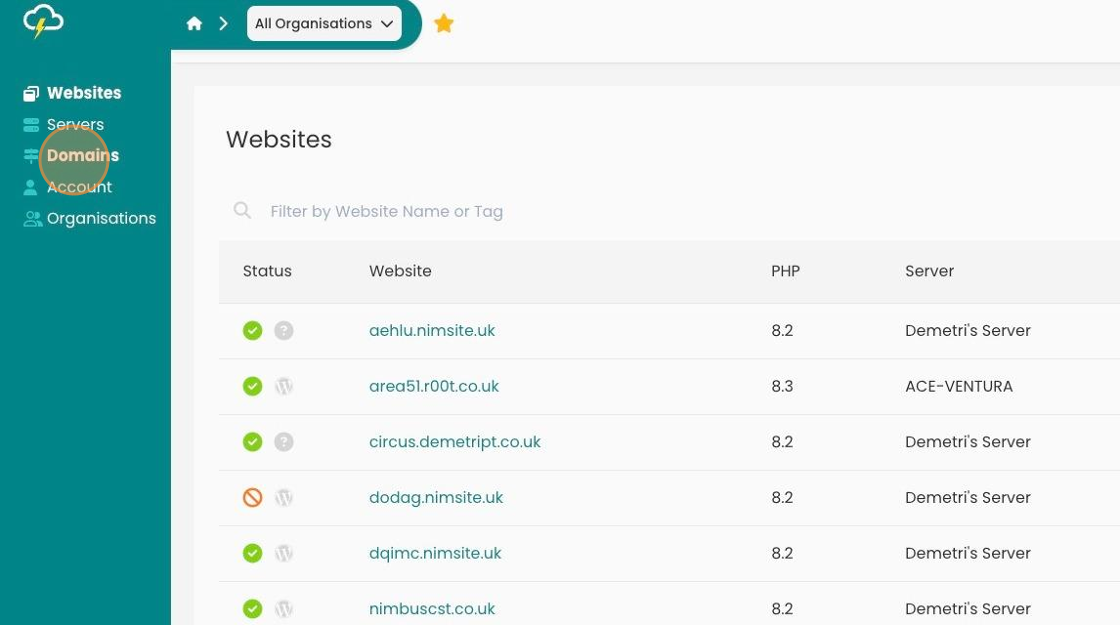
2. After you are logged in. Click "Domains"
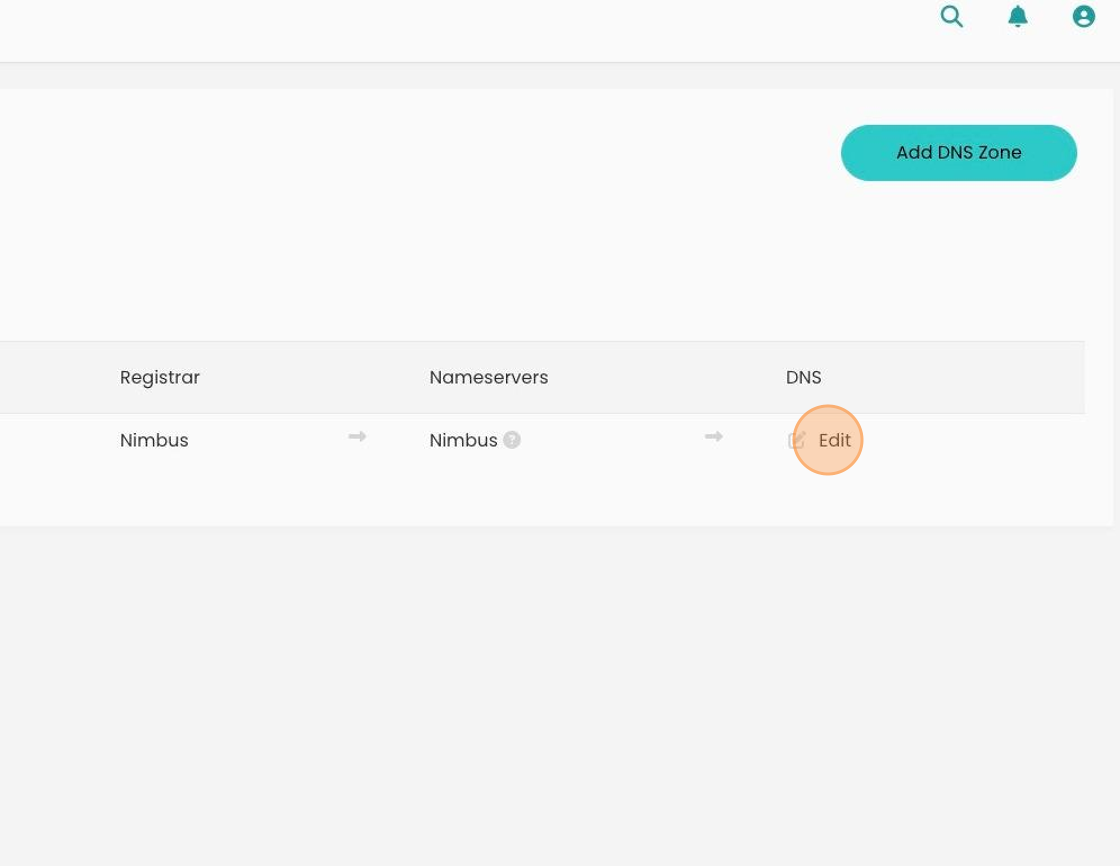
3. Choose the domain you would like to point your server to. Under the DNS heading on the selected domain. Click "Edit"
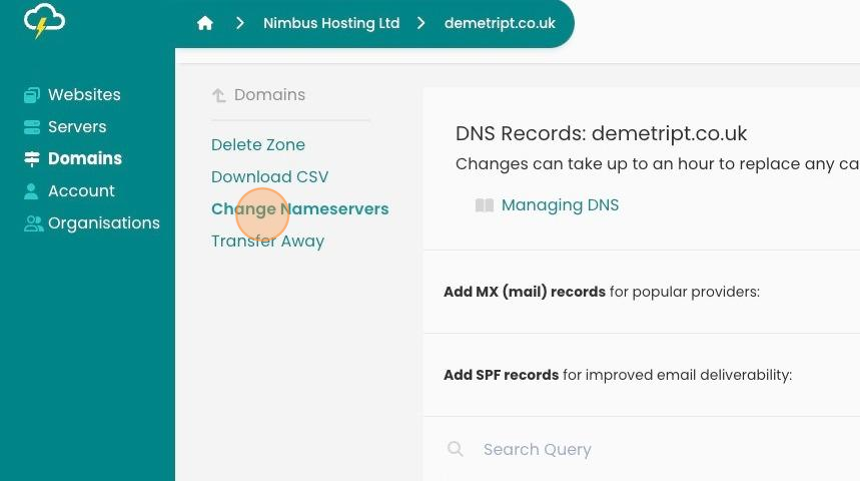
4. On your dashboard you will now be given the option to click "Change Nameservers".
5. Displayed will be the following nameservers where they can be changed. Click "Save Changes".
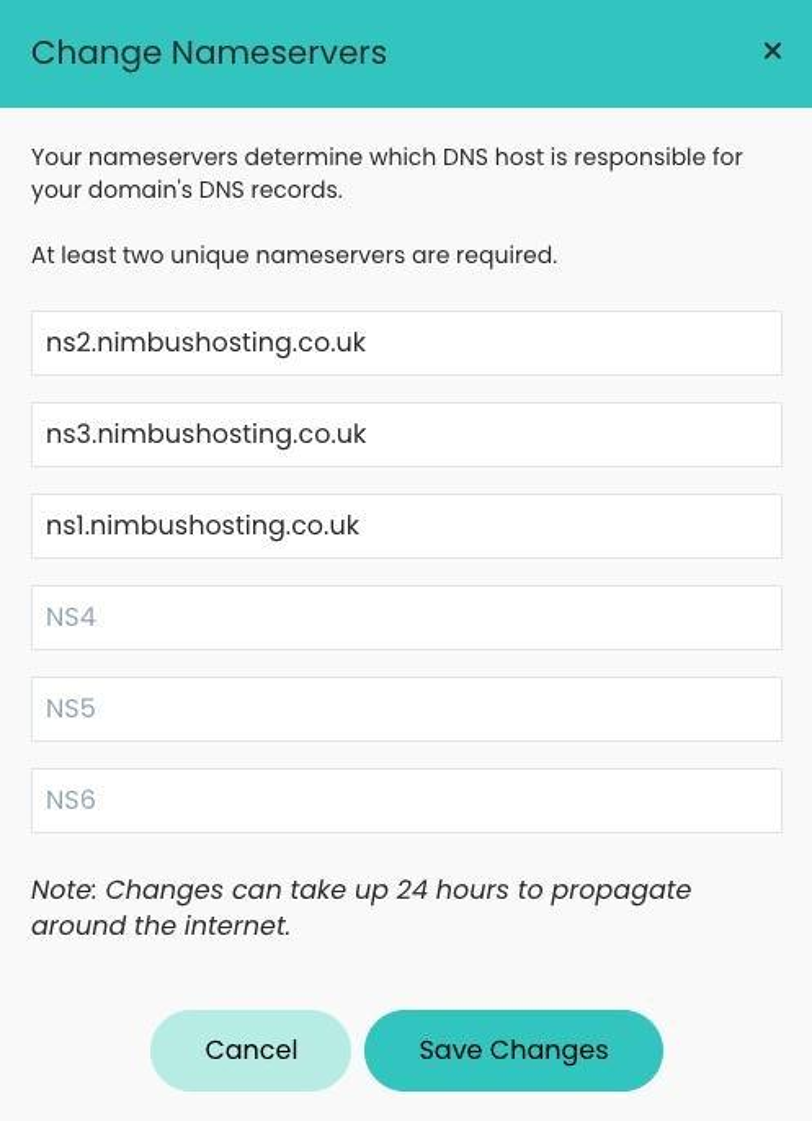
4. Nimbus Hosting nameservers are:
ns1.nimbushosting.co.uk
ns2.nimbushosting.co.uk
ns3.nimbushosting.co.uk
Please note it can take up to 48 hours for nameservers to propagate, illustrating that any DNS records you change on the Nimbus DNS management may not happen straight away.
Looking for something else?
Check out these useful links to our website and other carefully curated resources:
Industry-leading insight reports