How to: Install an SSL certificate
This guide will: Explain how to use the platform to add an SSL certificate to your website.
Contents:
Instructions:
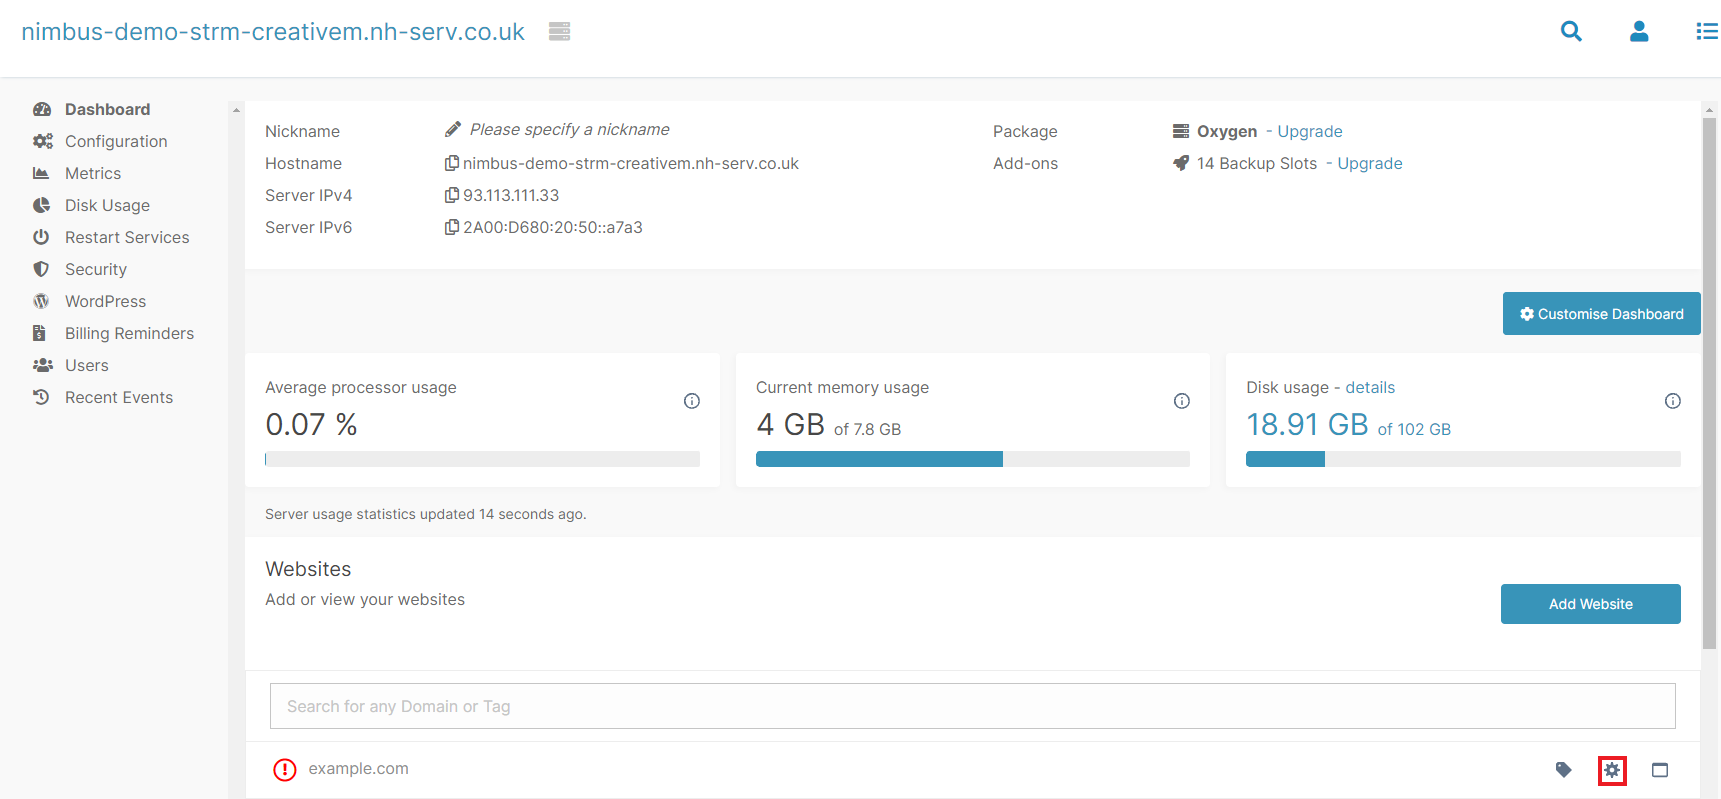
- From the Nimbus platform, click the cog icon beside the website whose hosting you’d like to manage.
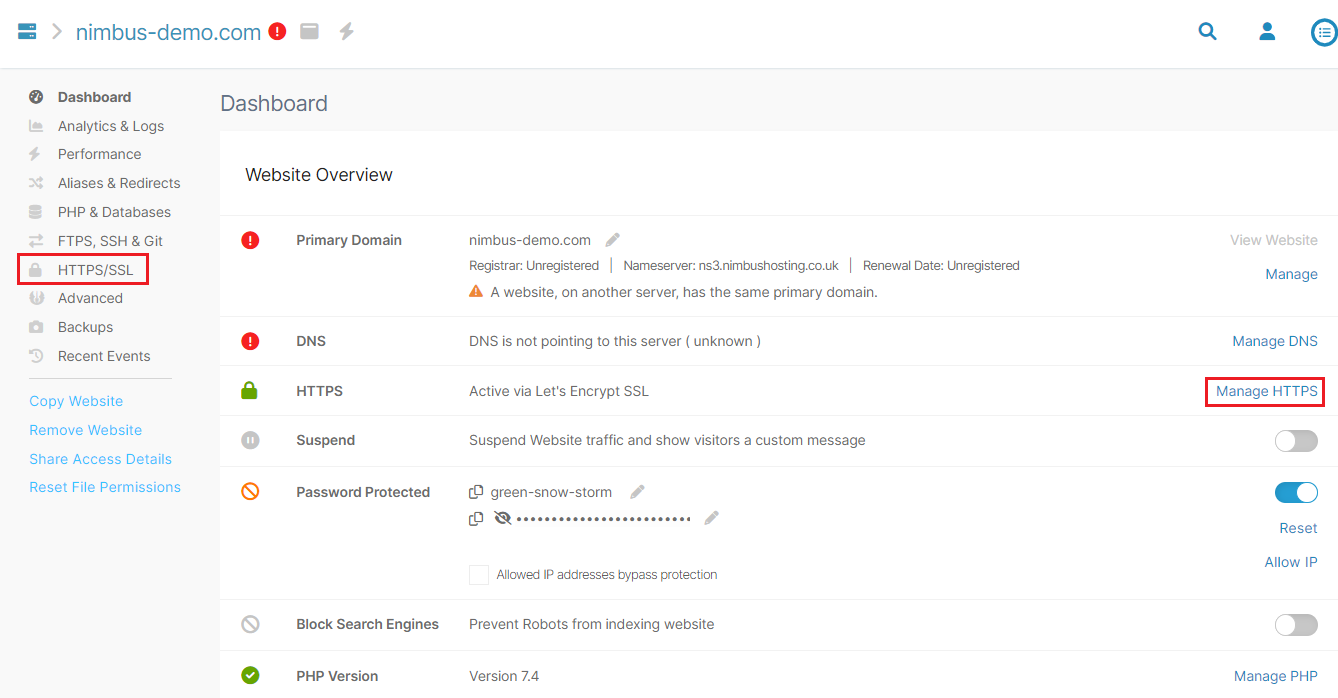
- Click on ‘HTTP/SSL’ or ‘Manage HTTPS’.
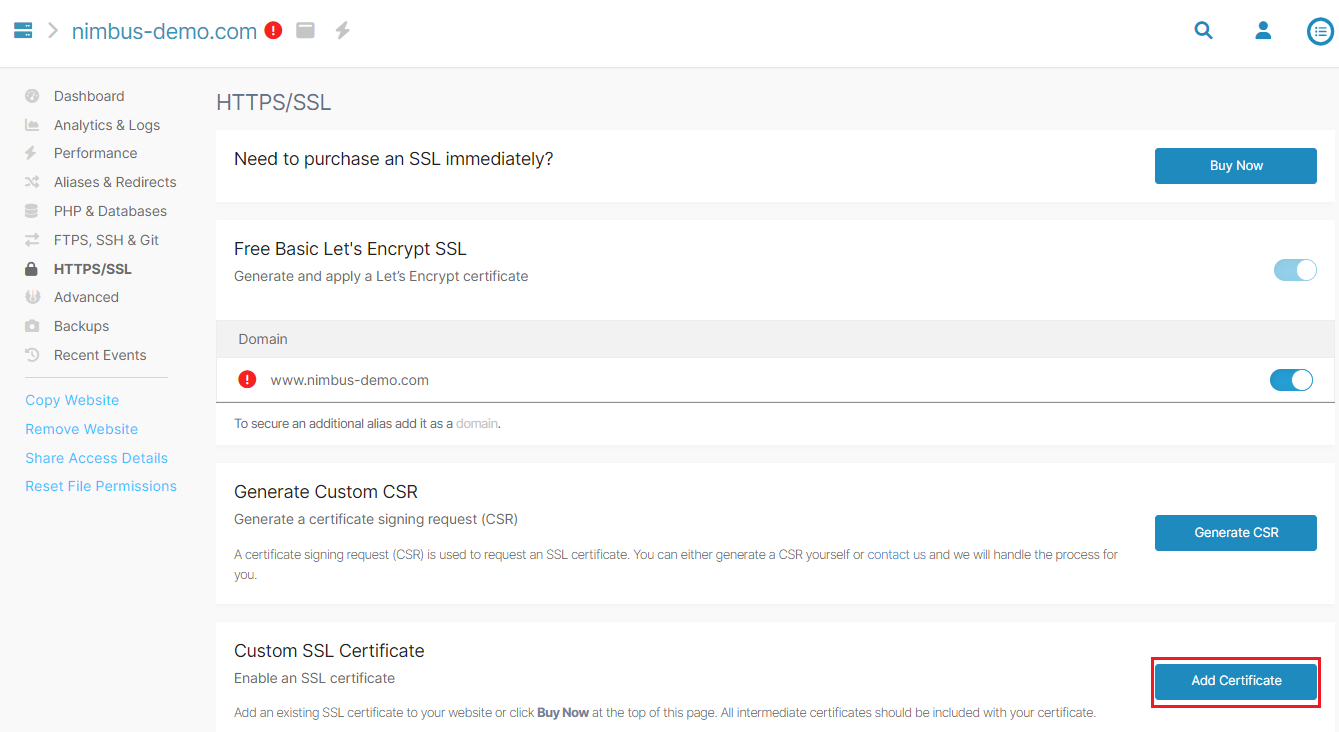
- Within the ‘Custom SSL Certificate’ section, click the ‘Add Certificate’ button.
- Paste your SSL’s certificate and private key into the relevant fields.
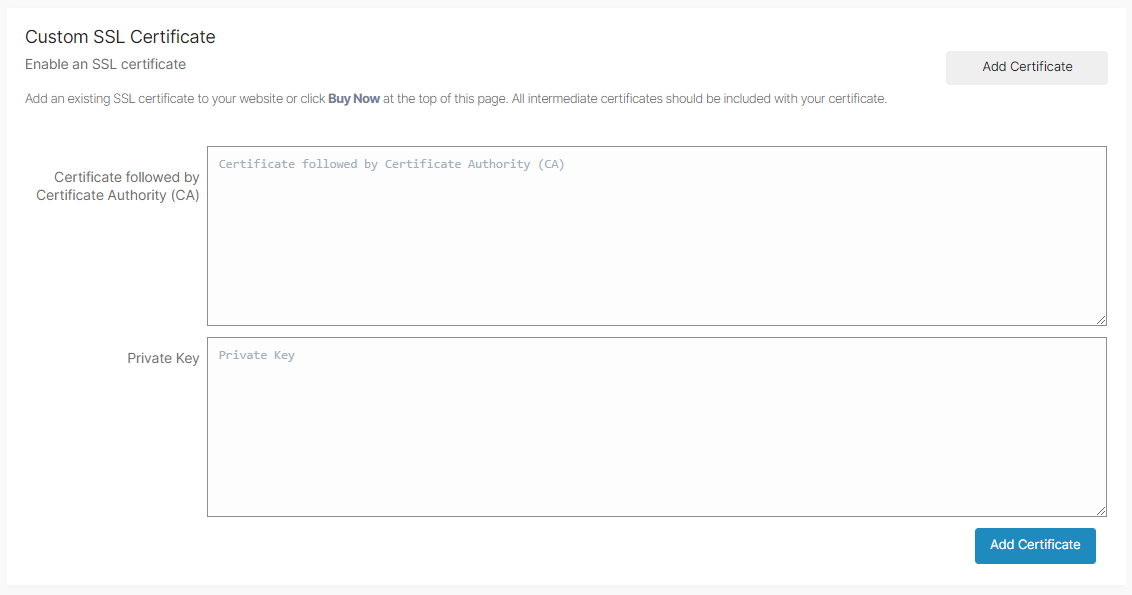
Note: Make sure to paste the CA-Cert/Chain cert into the Certificate box after your certificate, as well.
- Lastly, click ‘Add Certificate’, and the platform will apply the SSL to your site for you.
Checking your SSL installation:
You can check to make sure that your SSL is installed correctly by using our SSL Checker.
There is also a more thorough SSL test provided by Qualys which takes a few minutes to process, but which will give you an in-depth analysis of your SSL certificate.
If it returns a warning about chain issues related to an anchor, it means you have installed the SSL certificate by including the root certificate. Including this root certificate is generally not required, as most devices already have a copy.
You can fix this by removing the certificate from your site and following the installation steps again, ensuring to only copy in the site’s main certificate and ‘Certificate Authority’ (sometimes called the ‘intermediate’).
Video tutorial:
Still having issues? <Raise a ticket>
Further reading:
- KB ARTICLE or
- BLOG LINK