How to: Set your staging site live
This guide will: Explain how to replace a live website with a staging one.
Contents:
Instructions:
For the purposes of this guide, we’ll use two domains:
example.com = the current live website, to be switched out
staging.example.com = the staging site, to be set live.
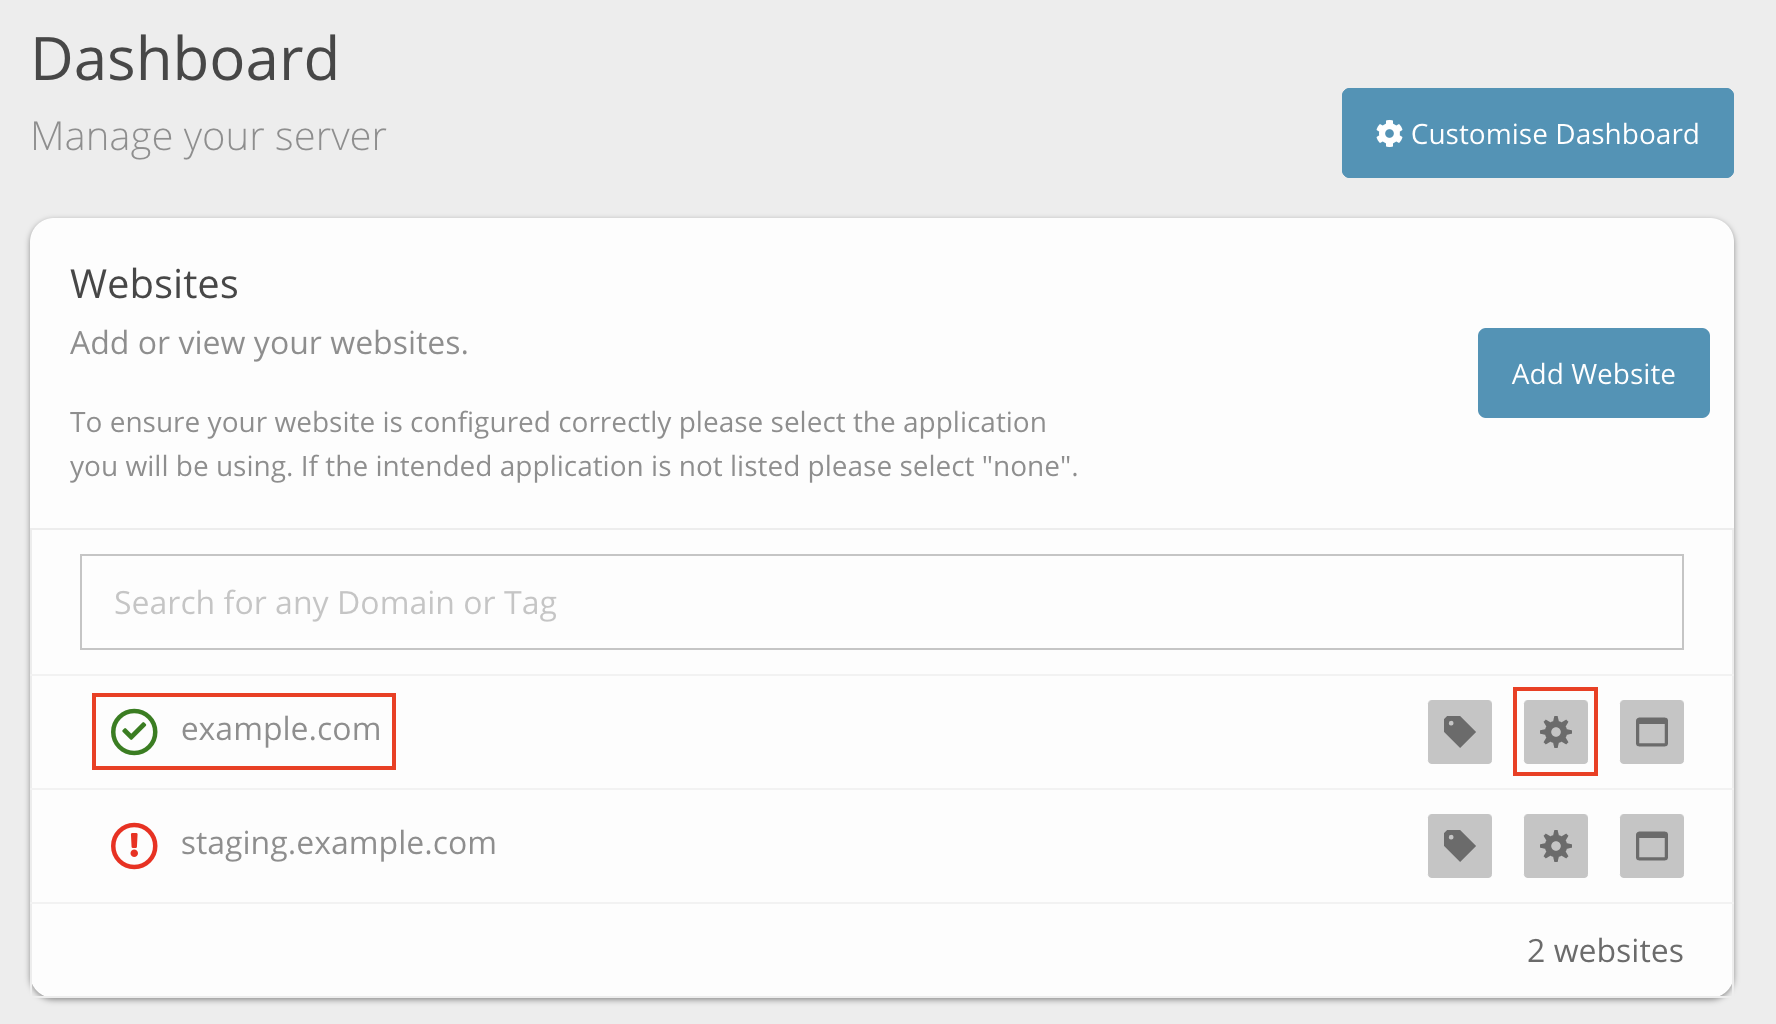
- From the server dashboard, click on the live website you want to replace.
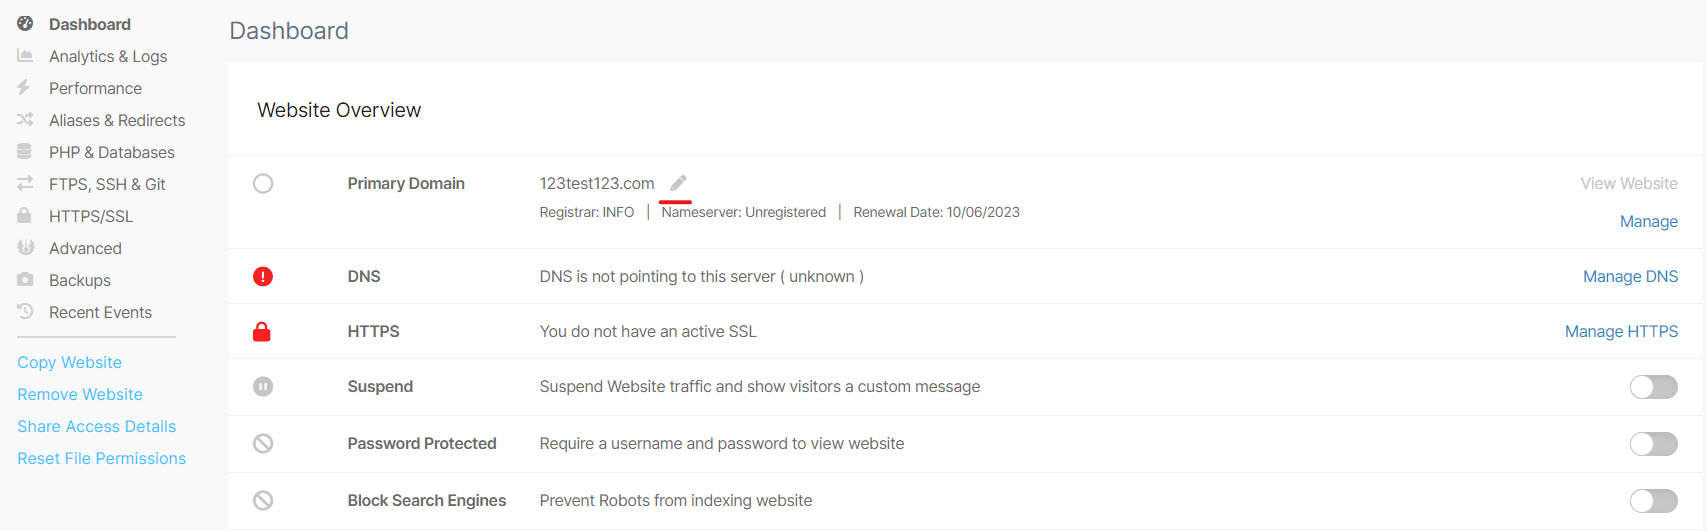
- From the dashboard, select the pencil icon beside your domain name.
-
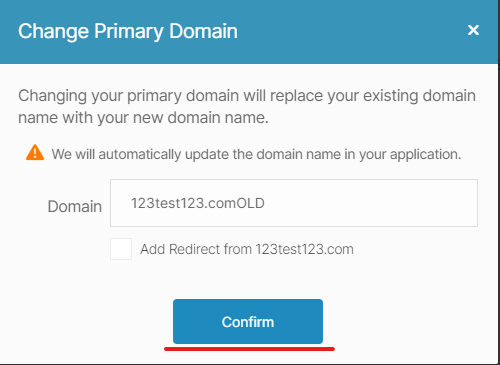
Enter the domain name, with an additional notation to make it clear that this is the old site. In our example, we’ve used ‘OLD’.
-
Then, click ‘Confirm’
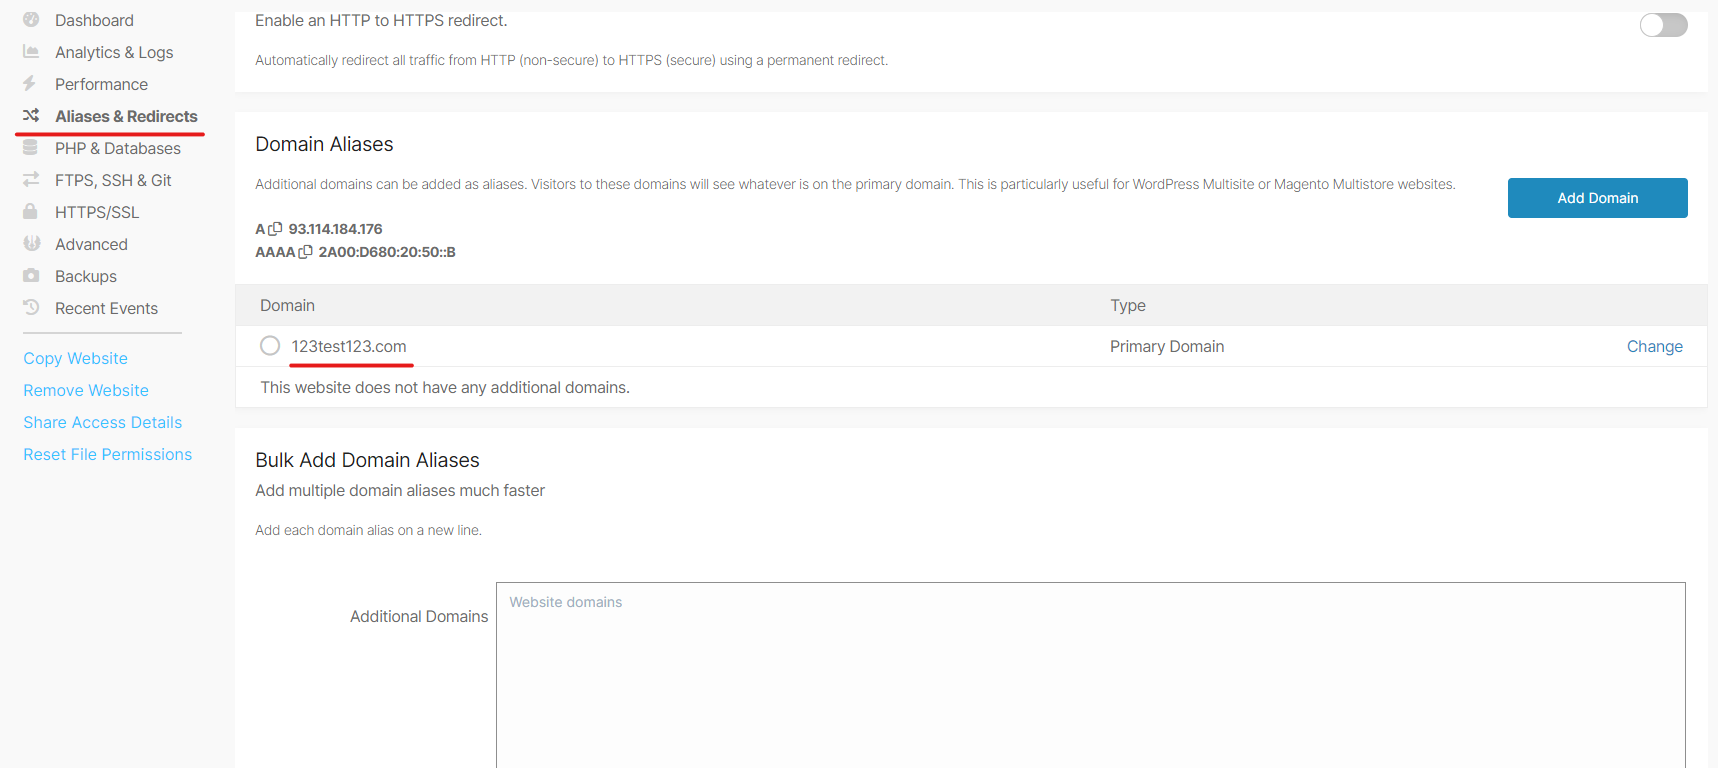
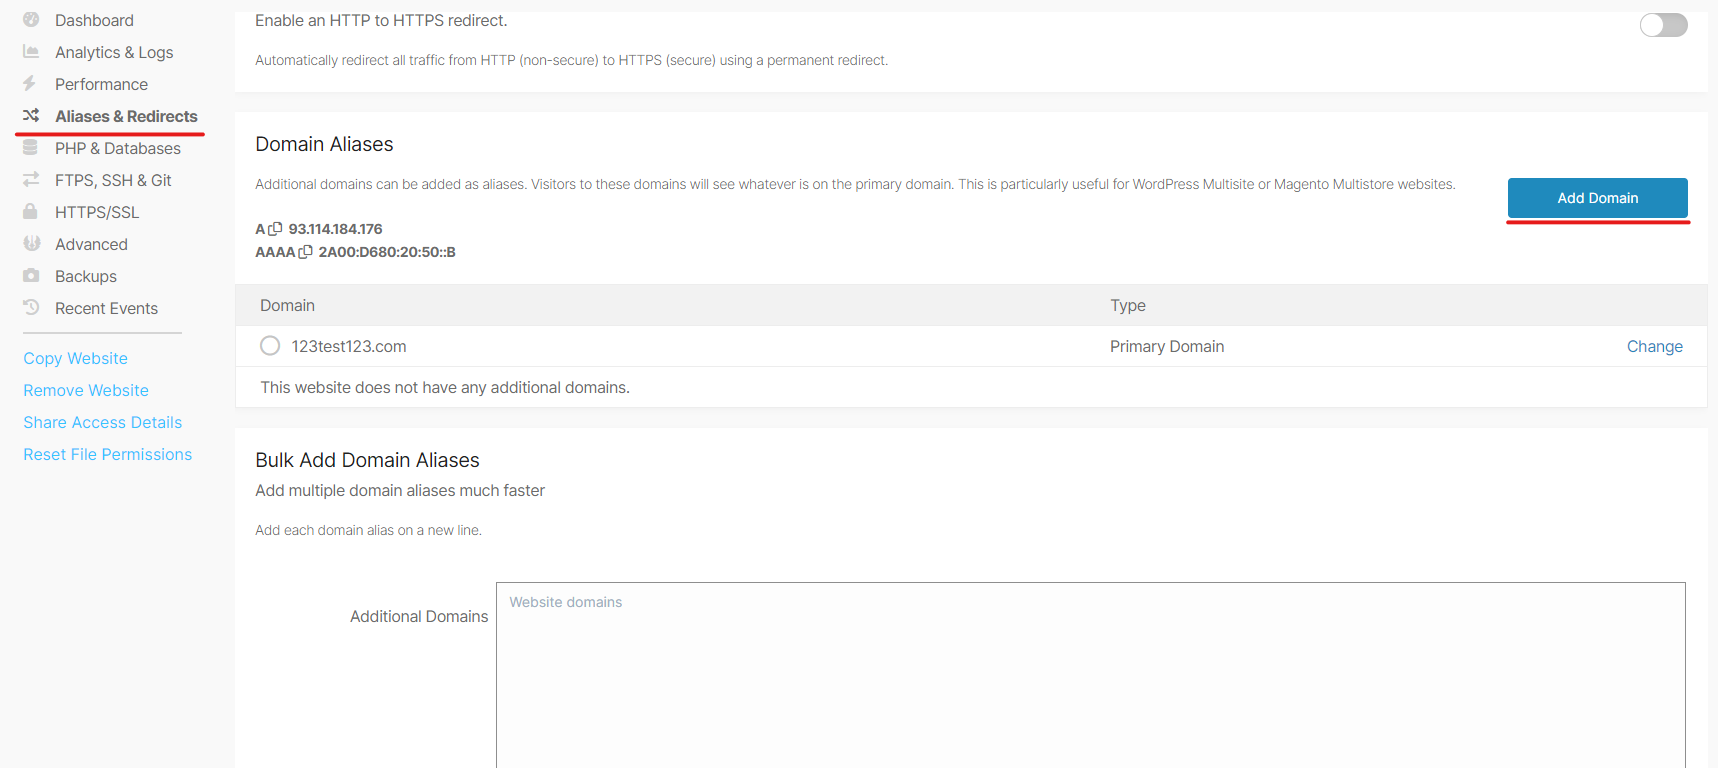
- Go to ‘Aliases & Redirects’ in the left-hand menu, and check the additional domains section for your old site. Remove any that will need to be associated with the new site.
- Navigate back to the server dashboard. You will see the renamed domain on the list, and both domains showing an exclamation mark which denotes that they are offline. Click on your staging site.
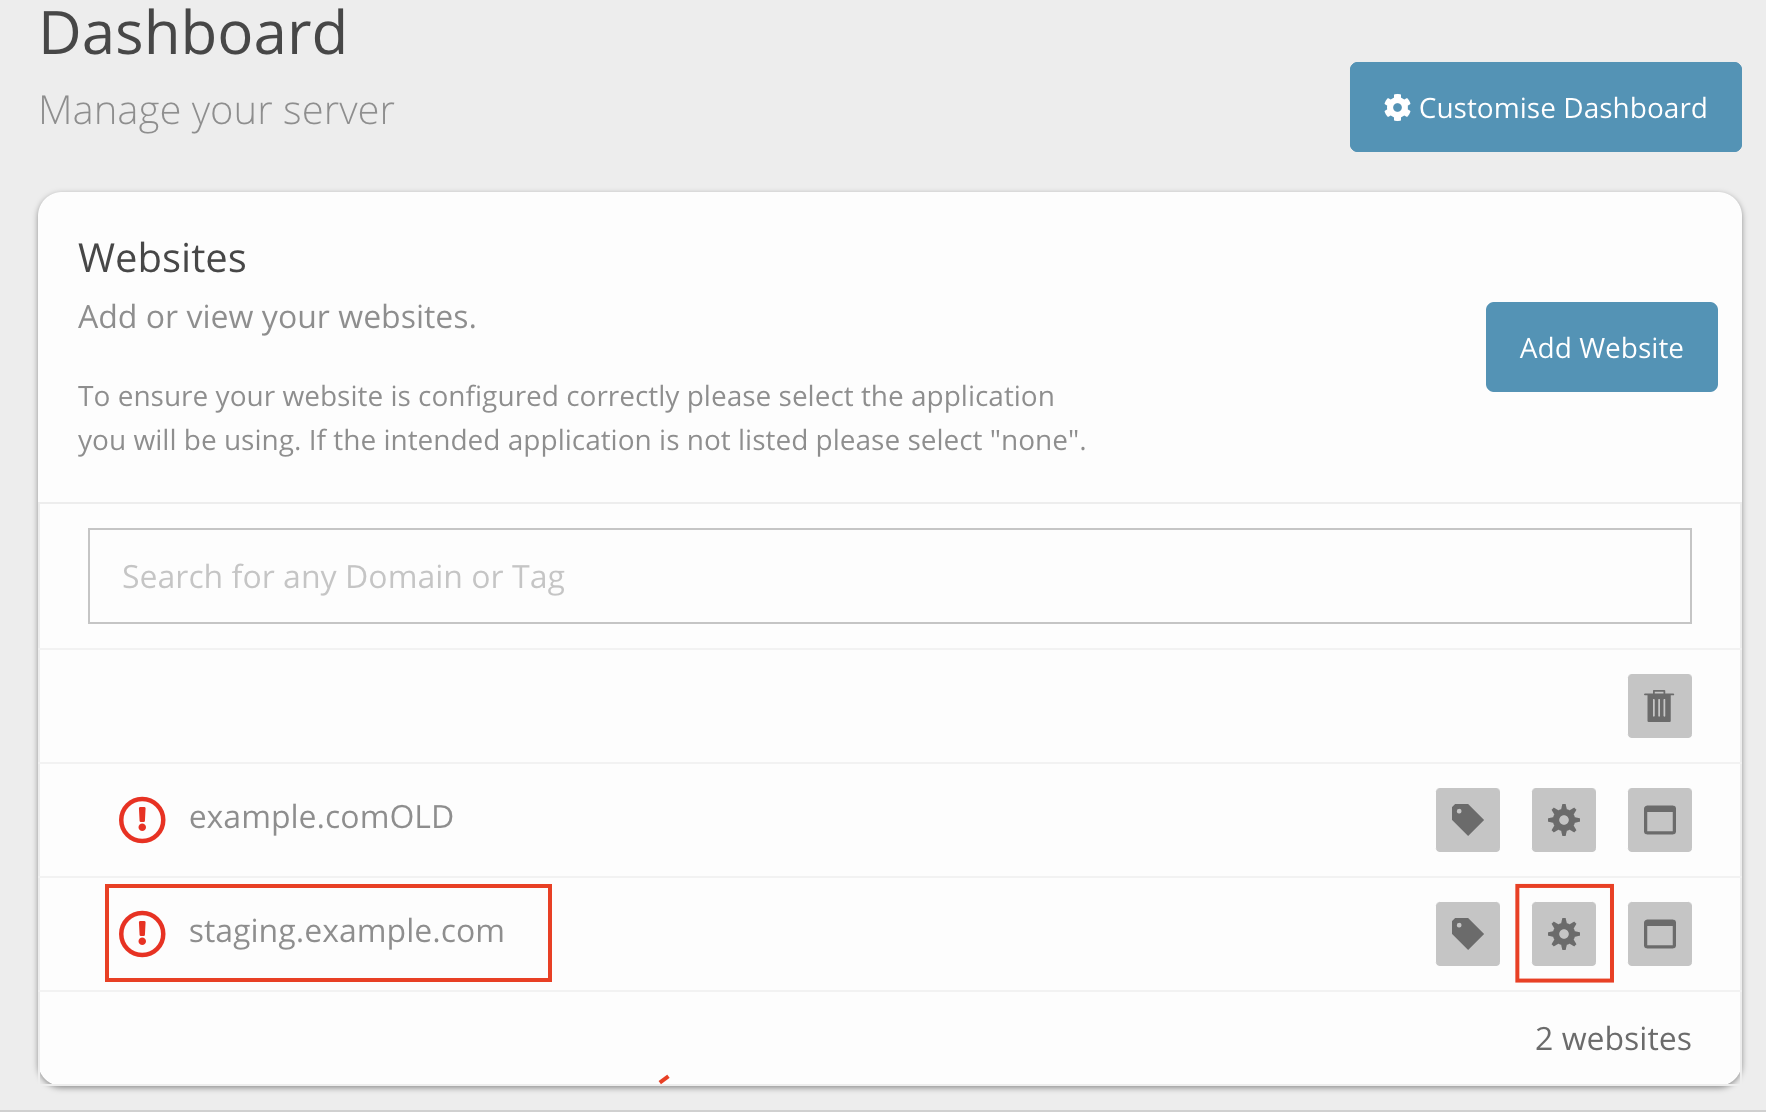
-
Select the pencil icon beside the staging site domain name, and change the name of your staging site to the live domain. In our example, that’s ‘staging.example.com’ → ‘example.com’
-
Go to the ‘Aliases & Redirects’ menu and add any relevant additional domains.
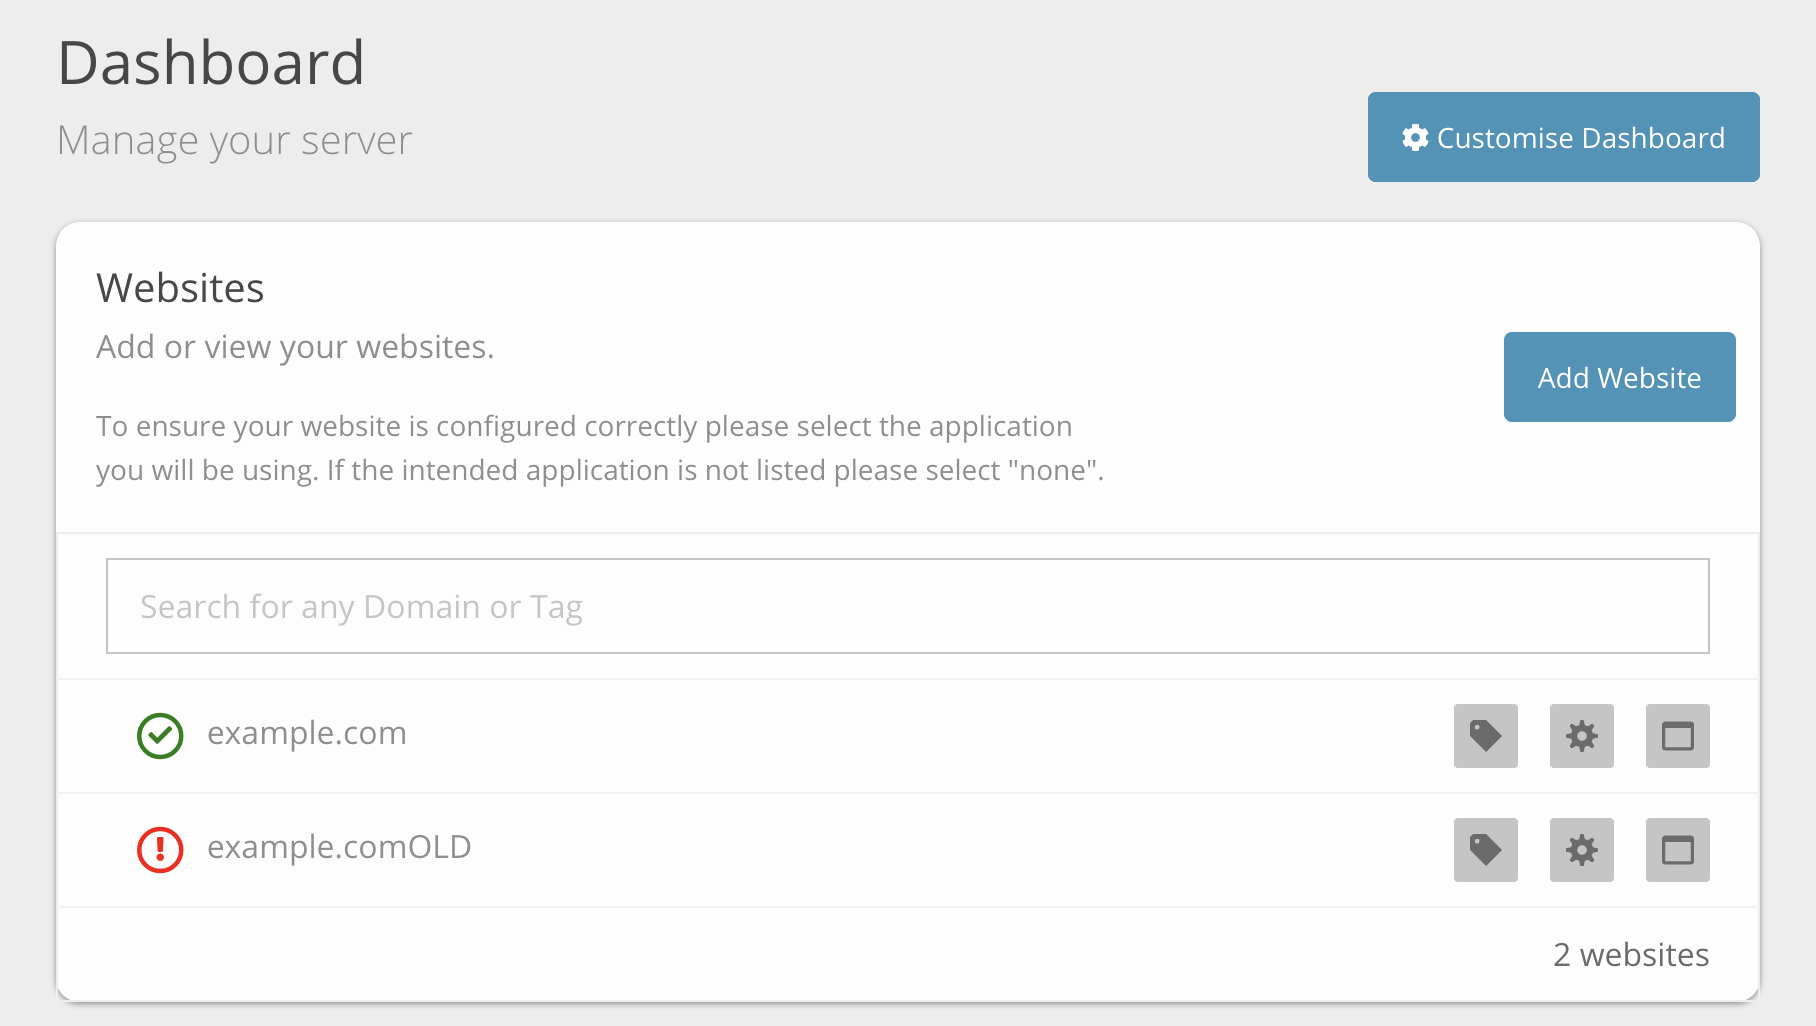
You should now be able to browse the site on the new domain name. Your server dashboard will now display the renamed sites, with the green tick beside the live domain.
Video tutorial:
Still having issues? <Raise a ticket>
Further reading:
- KB ARTICLE or
- BLOG LINK